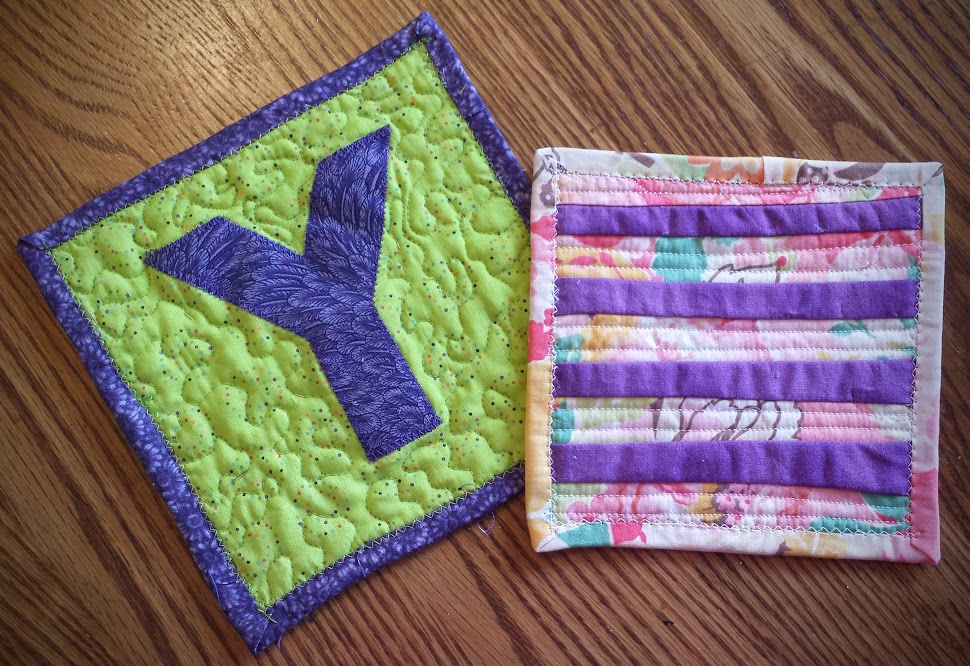
These were fun to make! And a learning experience.
On the stripey mug rug I sewed the binding on the back first and then brought it around to the front. I’m not sure purists would be proud but I used Elmers School Glue to hold the binding down flat on the front. A quick press on the binding with an iron and the glue dried quickly and firmly, and yet it was fine to sew on. Glad I listened when I heard about that trick from a fellow sewist on a quilting group.
On the “initial” mug rug I tried applique for the first time and stippling. I’m pleased with the job I did. I did the same thing for the binding as with the stripey mug rug. So much quicker than hand sewing. Not as elegant by any stretch of the imagination but perfect for items that are going to sit under coffee cups or a can of diet coke.
Linking up with this linky party at Behind the Seams Sewing blog and to here

Your mug rugs are so pretty! I would love for you to link up to the Stitch It, Blog It, Share It Link Party Sunday nights at 7pm at BehindtheSeamsSewing.com.
~Bonnie
Hi Bonnie,
I just linked up! Thanks for telling me about it and for commenting on my sewyummy.ca blog
Yvonne
Funny mug rugs. Never thought about the glue, but I sure will try. Thanks for sharing.
What cute mug rugs. Thanks for sharing.
Hugs, Heide
Many thanks Yvonne for your linking and inspiration you give us on the show and tell Monday !! Bambi Hug
Hello Yvonne,
No prizes for guessing which one is for you to keep for yourself! That’s a great bit of FMQ you have done. It can be really tricky working on a small piece, with less room to wander around. The stripy one looks a good way of using up little ends of left over binding.
Thank you for linking up with Free Motion Mavericks!
Love, Muv